As an Amazon Associate I earn from qualifying purchases and sometimes recommend products from other sellers at no extra cost you. For more details see my disclosure policy and privacy policy.
Pulled pork looks intimidating from the outside, mostly because it takes so many hours to cook. Once you understand what is actually happening inside the meat, it stops feeling like a mystery and starts feeling like a checklist.
This guide walks you through picking the right cut, setting up your smoker or grill, getting through the stall without panicking, and knowing exactly when the pork is done. No sauce recipe here, just the technique, so you can pair it with whatever rub or sauce you already like.
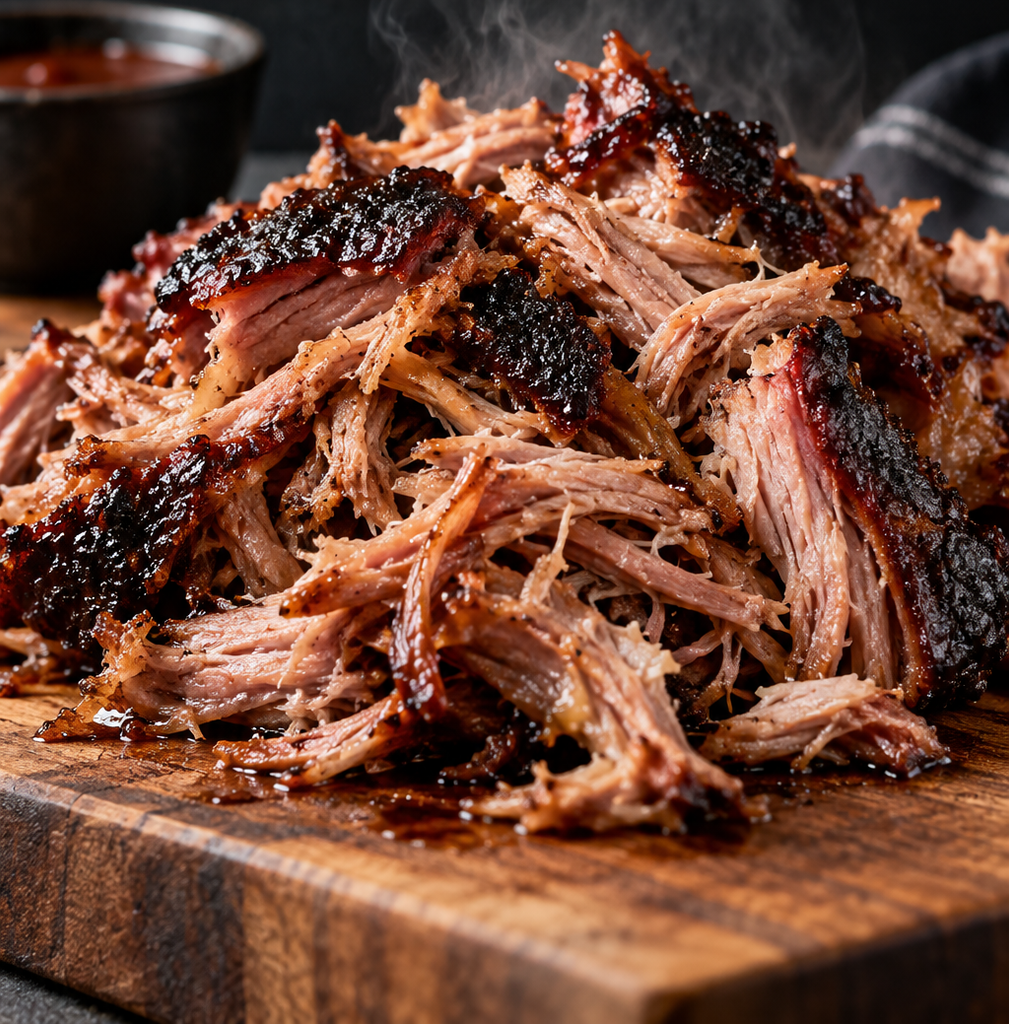
🐖 Picking the Right Cut
Ask your butcher for pork butt, also called Boston butt. It sits higher up on the shoulder than the cut simply labeled “pork shoulder” or “picnic shoulder,” and it carries more marbling and connective tissue, which is exactly what breaks down into that fall-apart texture you are after.
Picnic shoulder will still work, but it is leaner and holds its shape more, so it suits slicing better than pulling. If your butcher only stocks one or the other, pork butt is the one to ask for by name.
Look for a bone-in cut if you have the choice. The bone helps the meat cook more evenly, and it gives you an easy doneness check later, since it should pull free with almost no resistance once the pork is ready.
As for size, plan on roughly half a pound of raw pork per person, since pulled pork loses a fair amount of weight to rendered fat and moisture during the cook. An 8 to 10 pound butt comfortably feeds a group of 12 to 16 people, with leftovers, which makes it a solid choice for a backyard gathering rather than just a weekend project for one household.
🧂 Seasoning Before It Goes On
Season generously, more than feels natural if this is your first time. Pork butt is a large, dense piece of meat, and a light dusting of seasoning barely registers by the time it has cooked for 12 or more hours.
A thin layer of yellow mustard rubbed over the surface first helps whatever seasoning you use stick evenly, though it is not essential if you would rather skip it. Whatever rub or seasoning blend you already like is the right one to use here, since this guide is about the technique, not a specific flavor profile.
Apply your seasoning at least an hour before it goes on the smoker, and overnight in the fridge if you can plan ahead. That extra time lets the salt work its way into the meat rather than just sitting on the surface.
🔥 Fuel, Wood and Airflow
Charcoal, gas and electric smokers can all produce great pulled pork, so do not feel like you need to upgrade equipment before you start. What matters far more than the fuel type is holding a steady temperature for the whole cook rather than letting it drift up and down.
If you are using charcoal or a wood-burning setup, add wood in small amounts throughout the cook rather than all at once at the start. A milder wood like apple or cherry works well with pork and will not overpower it the way a heavier wood can if you are not used to judging smoke levels yet.
Keep your vents mostly open for the first hour to establish a clean burn, then adjust gradually to hold your target temperature rather than making large adjustments every time the thermometer moves.
🌡️ Setting Up Low and Slow
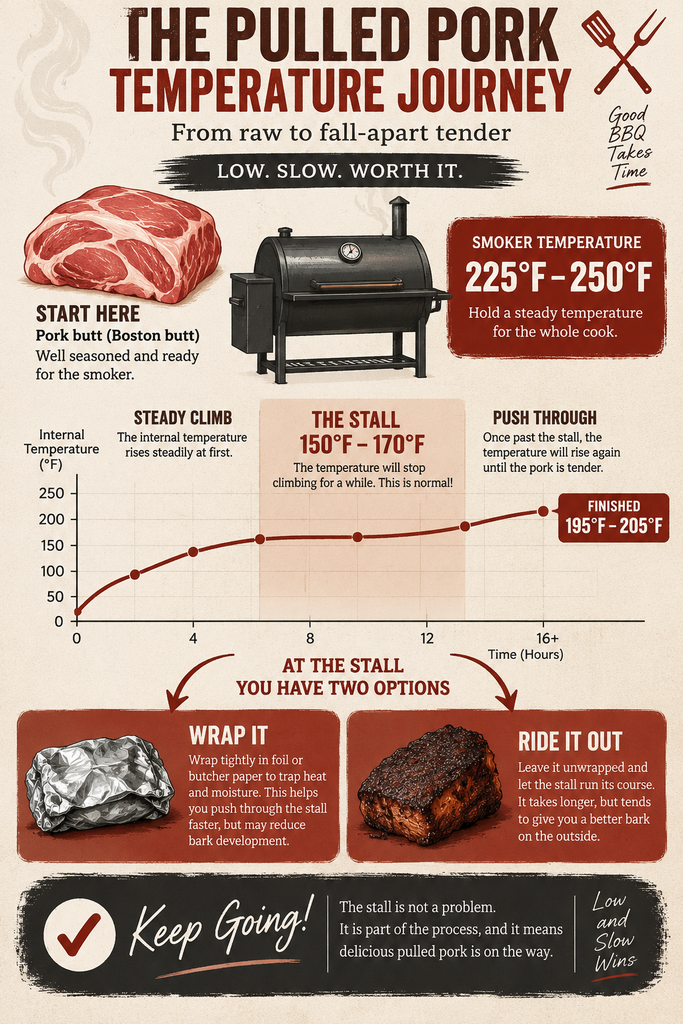
Set your smoker or grill to run between 225°F and 250°F, and plan to stay there for the whole cook rather than adjusting up partway through. This range gives the collagen and connective tissue enough time to break down into gelatin without drying out the meat around it.
Higher heat might feel like it is saving you time, but it mostly just toughens the outside before the inside has had a chance to catch up. Low and slow is not a slogan here. It is the actual mechanism that makes pulled pork work.
Budget roughly 1.5 to 2 hours per pound at 225°F for an 8 to 10 pound butt. That means a full cook can easily run 12 to 16 hours, so plan your timing around when you actually want to eat, not the other way around.
🧱 The Stall (And Why It’s Not a Problem)
Somewhere around 150°F to 170°F internal, the temperature will stop climbing for a while. Sometimes for a long while. This is called the stall, and it trips up more beginners than anything else in this whole process.
It happens because moisture is working its way to the surface of the meat and evaporating off, and that evaporation pulls heat away from the meat the same way sweat cools your skin. It is not a sign anything has gone wrong, and it is not a reason to raise your smoker’s temperature.
You have two real options here. Wrap the pork tightly in foil or butcher paper once it hits the stall, which traps heat and moisture and speeds things back up, usually adding some of that time back in bark development you would otherwise lose. Or leave it unwrapped and ride the stall out, which takes longer but tends to build a better bark on the outside.
Neither choice is wrong. Wrapping suits a tighter timeline, and riding it out suits people who care more about the bark than the schedule.
🎯 How to Know It’s Actually Done
Temperature alone is not enough here, even though it matters. Pull your pork once it hits somewhere between 195°F and 205°F internal, with most experienced cooks aiming for right around 203°F.
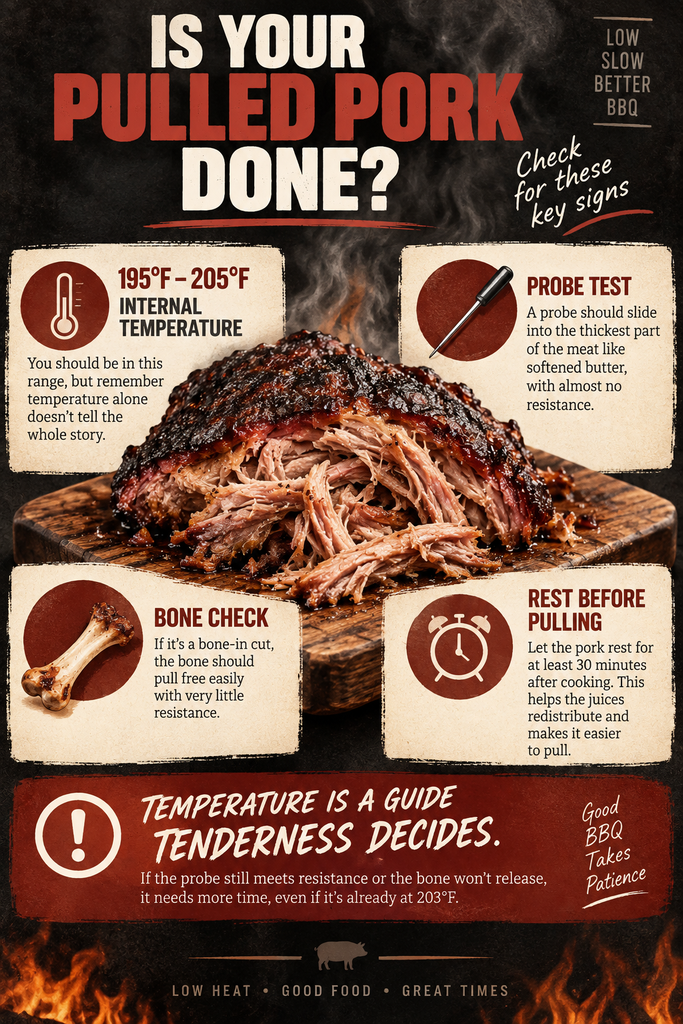
The better test is feel. A probe or thermometer should slide into the thickest part of the meat with no resistance at all, the same way a knife slides into softened butter. If you feel any pushback, it needs more time regardless of what the number says.
An instant-read meat thermometer makes this whole step far less stressful, since you are checking in multiple spots rather than guessing from one reading. Check the thickest part of the shoulder and at least one other spot away from the bone, since pork this size can cook unevenly.
✋ Resting and Pulling
Do not skip the rest. Let the pork sit, still wrapped, for at least 30 minutes before you touch it, and up to an hour if you have the time. This gives the juices a chance to redistribute through the meat instead of running straight out onto your cutting board the moment you cut in.
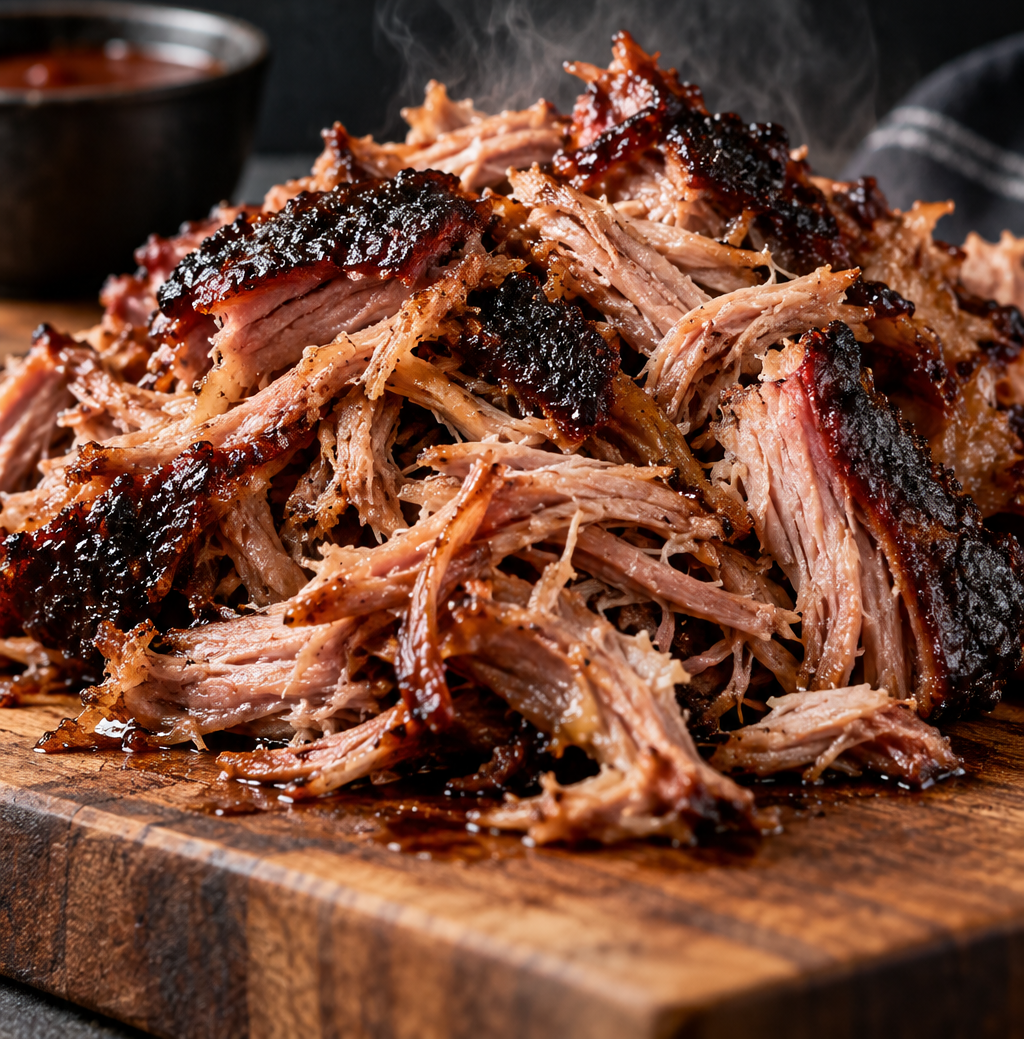
Once it has rested, check whether the bone pulls free easily. If it does, that is a strong sign the pork is ready to shred. Two forks work fine for pulling, and so do meat claws if you have a pair, but plenty of experienced cooks just use their hands once the meat has cooled enough to handle, since nothing gives you better control over how big or small the pieces end up.
Discard any large pockets of pure fat as you go, but do not go overboard trimming. A reasonable amount of rendered fat mixed through the meat is exactly what keeps pulled pork moist rather than dry.
🛠️ Troubleshooting
- Pork is dry: it was probably pulled too early, before the connective tissue fully broke down, or trimmed too aggressively before cooking. Check with the probe test above rather than the clock next time.
- Stalled for hours with no clear end in sight: this is normal, especially unwrapped. Wrap it in foil or butcher paper if you want to push through faster.
- Bone doesn’t pull free at your target temperature: give it more time. The temperature range is a guide, not a guarantee, and every piece of meat behaves slightly differently.
- Bark turned soft after wrapping: this is a normal tradeoff of wrapping, not a mistake. If bark matters more to you than a faster cook, try riding out the stall unwrapped next time instead.
❓ Pulled Pork FAQs
Can I cook pulled pork faster at a higher temperature? You can, but you will trade texture for time. Higher heat cooks the outside faster than the connective tissue inside can break down, which tends to leave you with tougher meat even once it technically reaches temperature.
Do I need to wrap the pork at all? No, wrapping is a choice, not a requirement. It speeds up the stall and keeps things moister, but riding out the stall unwrapped usually builds better bark, so it comes down to which one you value more on a given day.
How long can I hold pulled pork before serving? Wrapped in foil and towels inside a cooler, rested pork holds well for two to four hours without losing much quality, which is useful if your cook finishes earlier than your guests arrive.
Once you have a batch of pulled pork ready to go, our Pulled BBQ Pork Sliders recipe is one of the easiest ways to put it to use. And if ribs are next on your list, our guides to Best BBQ Ribs for Beginners and the Baby Back Ribs 2-2-1 Method cover the same low-and-slow thinking applied to a different cut.