As an Amazon Associate I earn from qualifying purchases and sometimes recommend products from other sellers at no extra cost you. For more details see my disclosure policy and privacy policy.
Okay, here in the UK summer is a bit of an unreliable thing. The calendar tells us it is summer, but the weather doesn’t always agree. This year has definitely been a bit different with a lot of sun and heat. This makes it perfect weather for an outdoor party or picnic. So time to roll out some top tips to have the perfect one (no matter where you are!)
Outdoor party ideas
I’ll be honest, eating outdoors isn’t totally my thing. I have a terrible tendency to eat at my desk or at the dining room table. Eating outdoors always seems a bit awkward and I hate it when there are flies and wasps around.
One of the first tips I saw for outdoor party and picnics was one that appealed – cut a lemon in half and add cloves to it. Set them in bowls around the seating area at least half an hour before you eat, and the bugs will stay away plus everything has a lovely smell.
A bit of chemistry will also be your friend in these situations. A bucket of chilled ice with a little table salt will melt more slowly than just ice on its own. So you don’t have to keep worrying about warm wine or beer.
Even with a dishwasher, the dishes after a party can take the shine off the day. So cut them down dramatically by using disposable plates, cutlery and cups. You can get funky coloured versions that are sometimes reusable and other times recyclable or both. Much less dishwasher time needed!
Party drinks
The decision on what to serve for party drinks depends on who is coming and just how adventurous you want to go. If it is an adult party, then you could go for themes drinks such as gin cocktails or make a nice punch.
If you are planning for kids and adults, one good idea is to make some ice cubes from the type of drink you are serving. So if you are serving orange or blackcurrant squash then make some cubes in the same. When they melt, they don’t dilute the drinks too much then.

For extra ice packs to keep things cool, freeze some unused kitchen sponges that are soaking wet. Pop them into the bucket or containers to keep drinks and chilled foods cold. And if any of the drinks aren’t fizzy, freeze them overnight so they are still nice and chilled when the guests arrive.
If you are going with ice cubes, bigger is better. That’s because they take longer to melt. So get the biggest ice cube trays or even cut some juice cartons in half and fill them with water then freeze. That makes some really big ice cubes to use to keep food and drink cool.
Lemongrass and ginger lemonade recipe
Lemonade is the ultimate outdoor party drink (with or without alcohol) but there’s nothing to say you need to stick with the store-bought version. Here’s a tasty homemade recipe.

Ingredients:
- ½ cup fresh lemon juice [approximately 4 whole lemons]
- 3 cups cold water
- ice
- fresh mint, for garnish
Simple Syrup:
- 1 cup water
- 1 cup white sugar
- 2 3” stalks lemongrass, cut into small chunks
- 3” fresh ginger, peeled and cut into small pieces
Directions:
- To make the ginger simple syrup, add 1 cup water and 1 cup white sugar to a medium saucepan. Peel a 3” piece of fresh ginger and chop into small pieces and add to the pan with the chopped lemongrass. The smaller you cut each piece, the more surface area you will expose to the boiling sugar mixture, which will add more flavour to the syrup.
- Bring mixture to a boil, then reduce heat and simmer for 30 minutes. Remove from heat and let cool.
- In a 32 oz. glass pitcher, add lemon juice and water and stir to combine. Add simple syrup as desired.
- Serve poured over ice with fresh mint for garnish. Offer additional infused simple syrup for those who want a little extra sweetness.
BBQ party idea
Robert’s a barbeque fan and he’s done loads for work when he worked in hotels. We don’t have one at the moment but if the urge took us, you can get some great portable ones that don’t cost a fortune but do a great job.
If you don’t have a lot of grilling experience, it is a good idea to get the hang of direct and indirect heat. Direct heat is where the heat is straight under the food – charcoal and flames under food on a grill. Indirect heat is where the heat is present but not directly under the food. Direct heat cooks quicker than indirect heat.

Direct heat is brilliant for smaller items that can cook through before they get too burnt on the outside. Burgers, fruits and vegetables are examples of this. Indirect heat is more useful for things like roasted chicken that need to cook for longer at a lower temperature. You can always sear them over the direct heat at the end of the process.
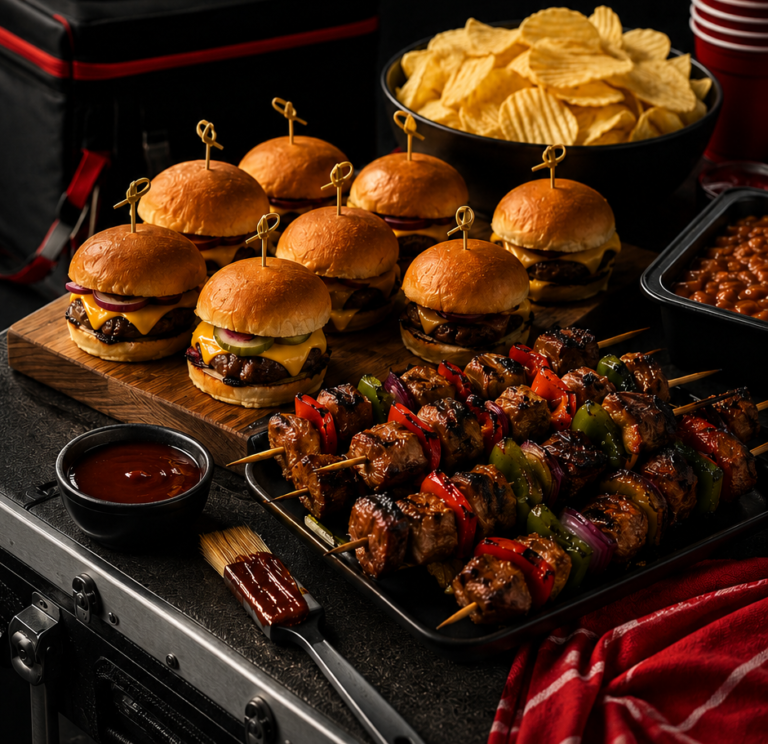
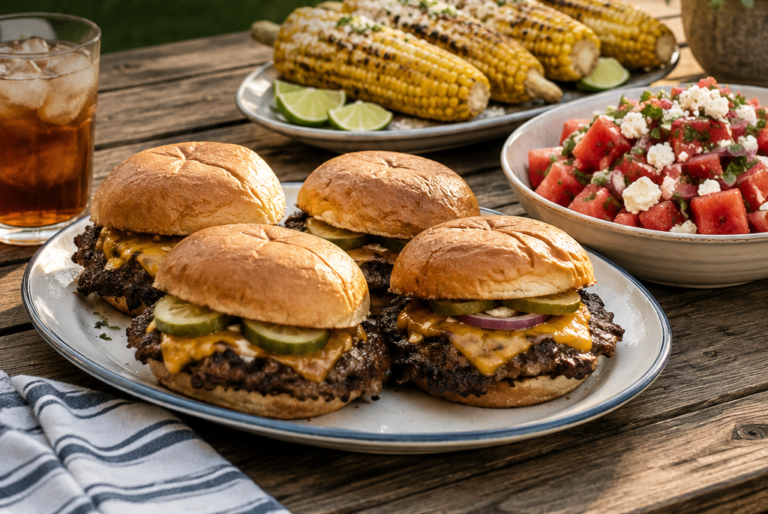
Burgers
According to experts, the perfect thickness for a hamburger is ¾ of an inch. Not sure what research went into that but there we go. The logic of this is that if they are thinner, they fall apart while grilling and if they are thicker, they can burn on the outside before getting cooked on the inside.
Talking of burgers, don’t forget to add seasonings if you are making your own. Salt and pepper are a must but there’s no shortage of other options you can add including onion or garlic, finely minced, while herbs such as rosemary or sage add to the flavour. Aim for meat with a higher fat content as this keeps the burger from getting too dry while cooking. Or if you hate higher fat content, use something like onions or Worcestershire sauce to add the moisture.
It can be a good idea to have one of those temperature probes when on the BBQ to make sure the food is cooked. You want it to be at least 70C at the thickest point to be safe and a probe is the safest way to be certain. If you are adding cheese as you grill, move the burger off the direct heat and add the cheese for 2-3 minutes until melted.
Fish on the BBQ
Grilling isn’t just for the meat eaters – there are lots of fish that you can cook on the grill too. Use a foil packet to wrap the fish and add it to the grill and you can also add flavourings and seasoning to the packet to add to the taste of the fish once cooked.
Grilled Herb-Rubbed Bone-In Pork Chop recipe
When grilling pork chops, you want to make sure the meat is more uniformly cooked. Go for a medium heat or make it indirect to get that nice evenness.
Ingredients
- 2 T. salt
- 6-8 large fresh basil leaves, torn into pieces
- 2 stems fresh rosemary, leaves stripped from stems and crushed
- 2 T. fresh thyme leaves, crushed with fingers
- 3 cloves garlic, smashed, peeled and roughly chopped
- 1 T. black Hawaiian salt
- 4 thick-cut bone-in pork chops, approximately 1” thick

Directions
- Combine salt, basil, rosemary, thyme, garlic and pepper thoroughly in a small bowl. Rub mixture over all sides of pork chops until thoroughly covered.
- Scrub grill grates with a wire brush prior to starting. Preheat grill to medium before adding pork chops over direct heat. Cook for 7-8 minutes, turning once, but otherwise keep the lid closed as much as possible. If your chops are thinner or thicker than 1”, adjust cook time accordingly.
- Remove chops from heat, cover and let rest for 3 – 5 minutes before serving. Serve with a grilled summer vegetable medley and top with a pat of compound butter seasoned with the same herbs used in the rub.
Picnic food ideas
If you are going for a picnic as opposed to a party, even if you are having it in your back garden, then go with the approach that less is more for food. Keep the menu simple with finger foods, salads, some fresh fruit and vegetables and lots of cold drinks.
Remember your food safety when transporting food. You want to ensure you keep it at a sensible temperature or there’s the risk of bacteria growing – chilled to around 4 degrees C is a good standard to watch for. Once it is above this, you have a two-hour window before food starts to spoil and this could be less if the weather is warmer than average – as little as one hour.
For warm foods, get them to 70 degrees to make sure they are cooked and 60C when you want to eat them. Falling below that, the foods will need to be refrigerated within 2 hours or less.
I recently did a post on sandwiches and salads and one tip for the warm weather was to use boxes with compartments for your salads. That way things don’t get all limp and slimy when mixed together and you can combine it all when you are ready to eat.
Bacon and Cheese Stuffed Mini Peppers
This dish is ideal as an appetiser for an outdoor party or for a warm snack to take on a picnic. Plus it only takes 15 minutes to cook.
Ingredients:
- 1 bag mini sweet peppers in assorted colours
- 6 oz. goat cheese
- 6 oz. ricotta cheese
- 3 T. fresh thyme leaves, stems removed
- 4 strips thick-cut bacon, cooked and crumbled
- salt and pepper, to taste
- 1 oz. hard Parmesan cheese, freshly grated

Directions:
- Wash peppers and pat dry. Cut each pepper in half lengthwise, leaving the stem intact. Remove seeds and membranes from each pepper half and discard. Set aside.
- In a small bowl, combine goat cheese, ricotta cheese, thyme leaves and bacon and sprinkle with some salt and pepper. Combine ingredients thoroughly. With a small spoon, fill each pepper half with the cheese and bacon mixture and arrange on a rimmed baking sheet covered with parchment paper. Top each stuffed pepper half with grated Parmesan cheese and pop into the oven under a preheated broiler set to ‘high.’
- Broil for approximately 5 minutes or until the cheese begins to brown and peppers start to blister. Remove from oven and place on a serving plate. Serve immediately.
Picnic salads
Picnic salads are key to eating out on a warm day because you don’t always want to eat lots of hot food. You can go with the classics such as coleslaw, potato salad or pasta salad and include anything you want to use up. Make them the day before and keep them in the fridge until you are ready to go.
Cauliflower and Kale Salad
This dish would be great to take with you on a picnic or brilliant to serve on the table for an outdoor party.
Ingredients:
Salad:
- 1 small zucchini, washed, cut in half and uniformly sliced
- 1 small yellow squash, washed, cut in half and uniformly sliced
- 1 head cauliflower, washed and trimmed, florets only
- 1 head broccoli, washed and trimmed, florets only
- 4 kale leaves, stems and ribs removed, washed and torn into bite-sized pieces
- 3 T. olive oil
- 12 small tomatoes, washed and cut in half lengthwise
- 6-8 large fresh basil leaves, washed, rolled and cut into thin strips
- 4-6 salt-cured lemon slices, very finely chopped including rinds
- ¼ cup dried cranberries [optional]
Vinaigrette:
- ¼ cup extra virgin olive oil
- 2 T. rice vinegar
- 1 T. fresh lemon juice
- 1 t. lemon zest
- 2 t. honey
- 2 t. Dijon mustard
- Salt and cracked black pepper, to taste

Directions:
- In a glass bowl, combine all vinaigrette ingredients and whisk until thoroughly combined. If possible, make in advance to allow the flavours to mingle. Taste and adjust seasonings as desired. Set aside.
- Place zucchini, squash, cauliflower, and broccoli in a large microwave-safe dish and add 2 T. water. Cover and microwave on high for about 5 or 6 minutes, or until crisp tender. Cook times will vary by microwave, so test after 3 minutes and adjust cook time accordingly. Do not overcook. Set aside to cool.
- In a large glass bowl, add torn kale and drizzle with olive oil. With your fingers, massage each piece of kale with your fingers until the olive oil is worked into the leaf. This will soften the kale and improve its taste. Add cooled zucchini, squash, cauliflower, broccoli, tomatoes, basil, chopped preserved lemon and cranberries to bowl. Toss to combine. Serve immediately or store in the refrigerator for up to two days
- Right before serving, add the desired amount of citrus vinaigrette and toss to coat thoroughly. Add salt and pepper to taste.
Have a great time!
Having an outdoor party, summer picnic or even an outdoor dinner party is a great way to make the most of the weather. There are loads of ideas for picnic food ideas, BBQ dishes and tasty salads that can be used for either with a little preparation and you will have a great time.
What’s your favourite picnic or outdoor party food? Tell us in the comments below!