As an Amazon Associate I earn from qualifying purchases and sometimes recommend products from other sellers at no extra cost you. For more details see my disclosure policy and privacy policy.
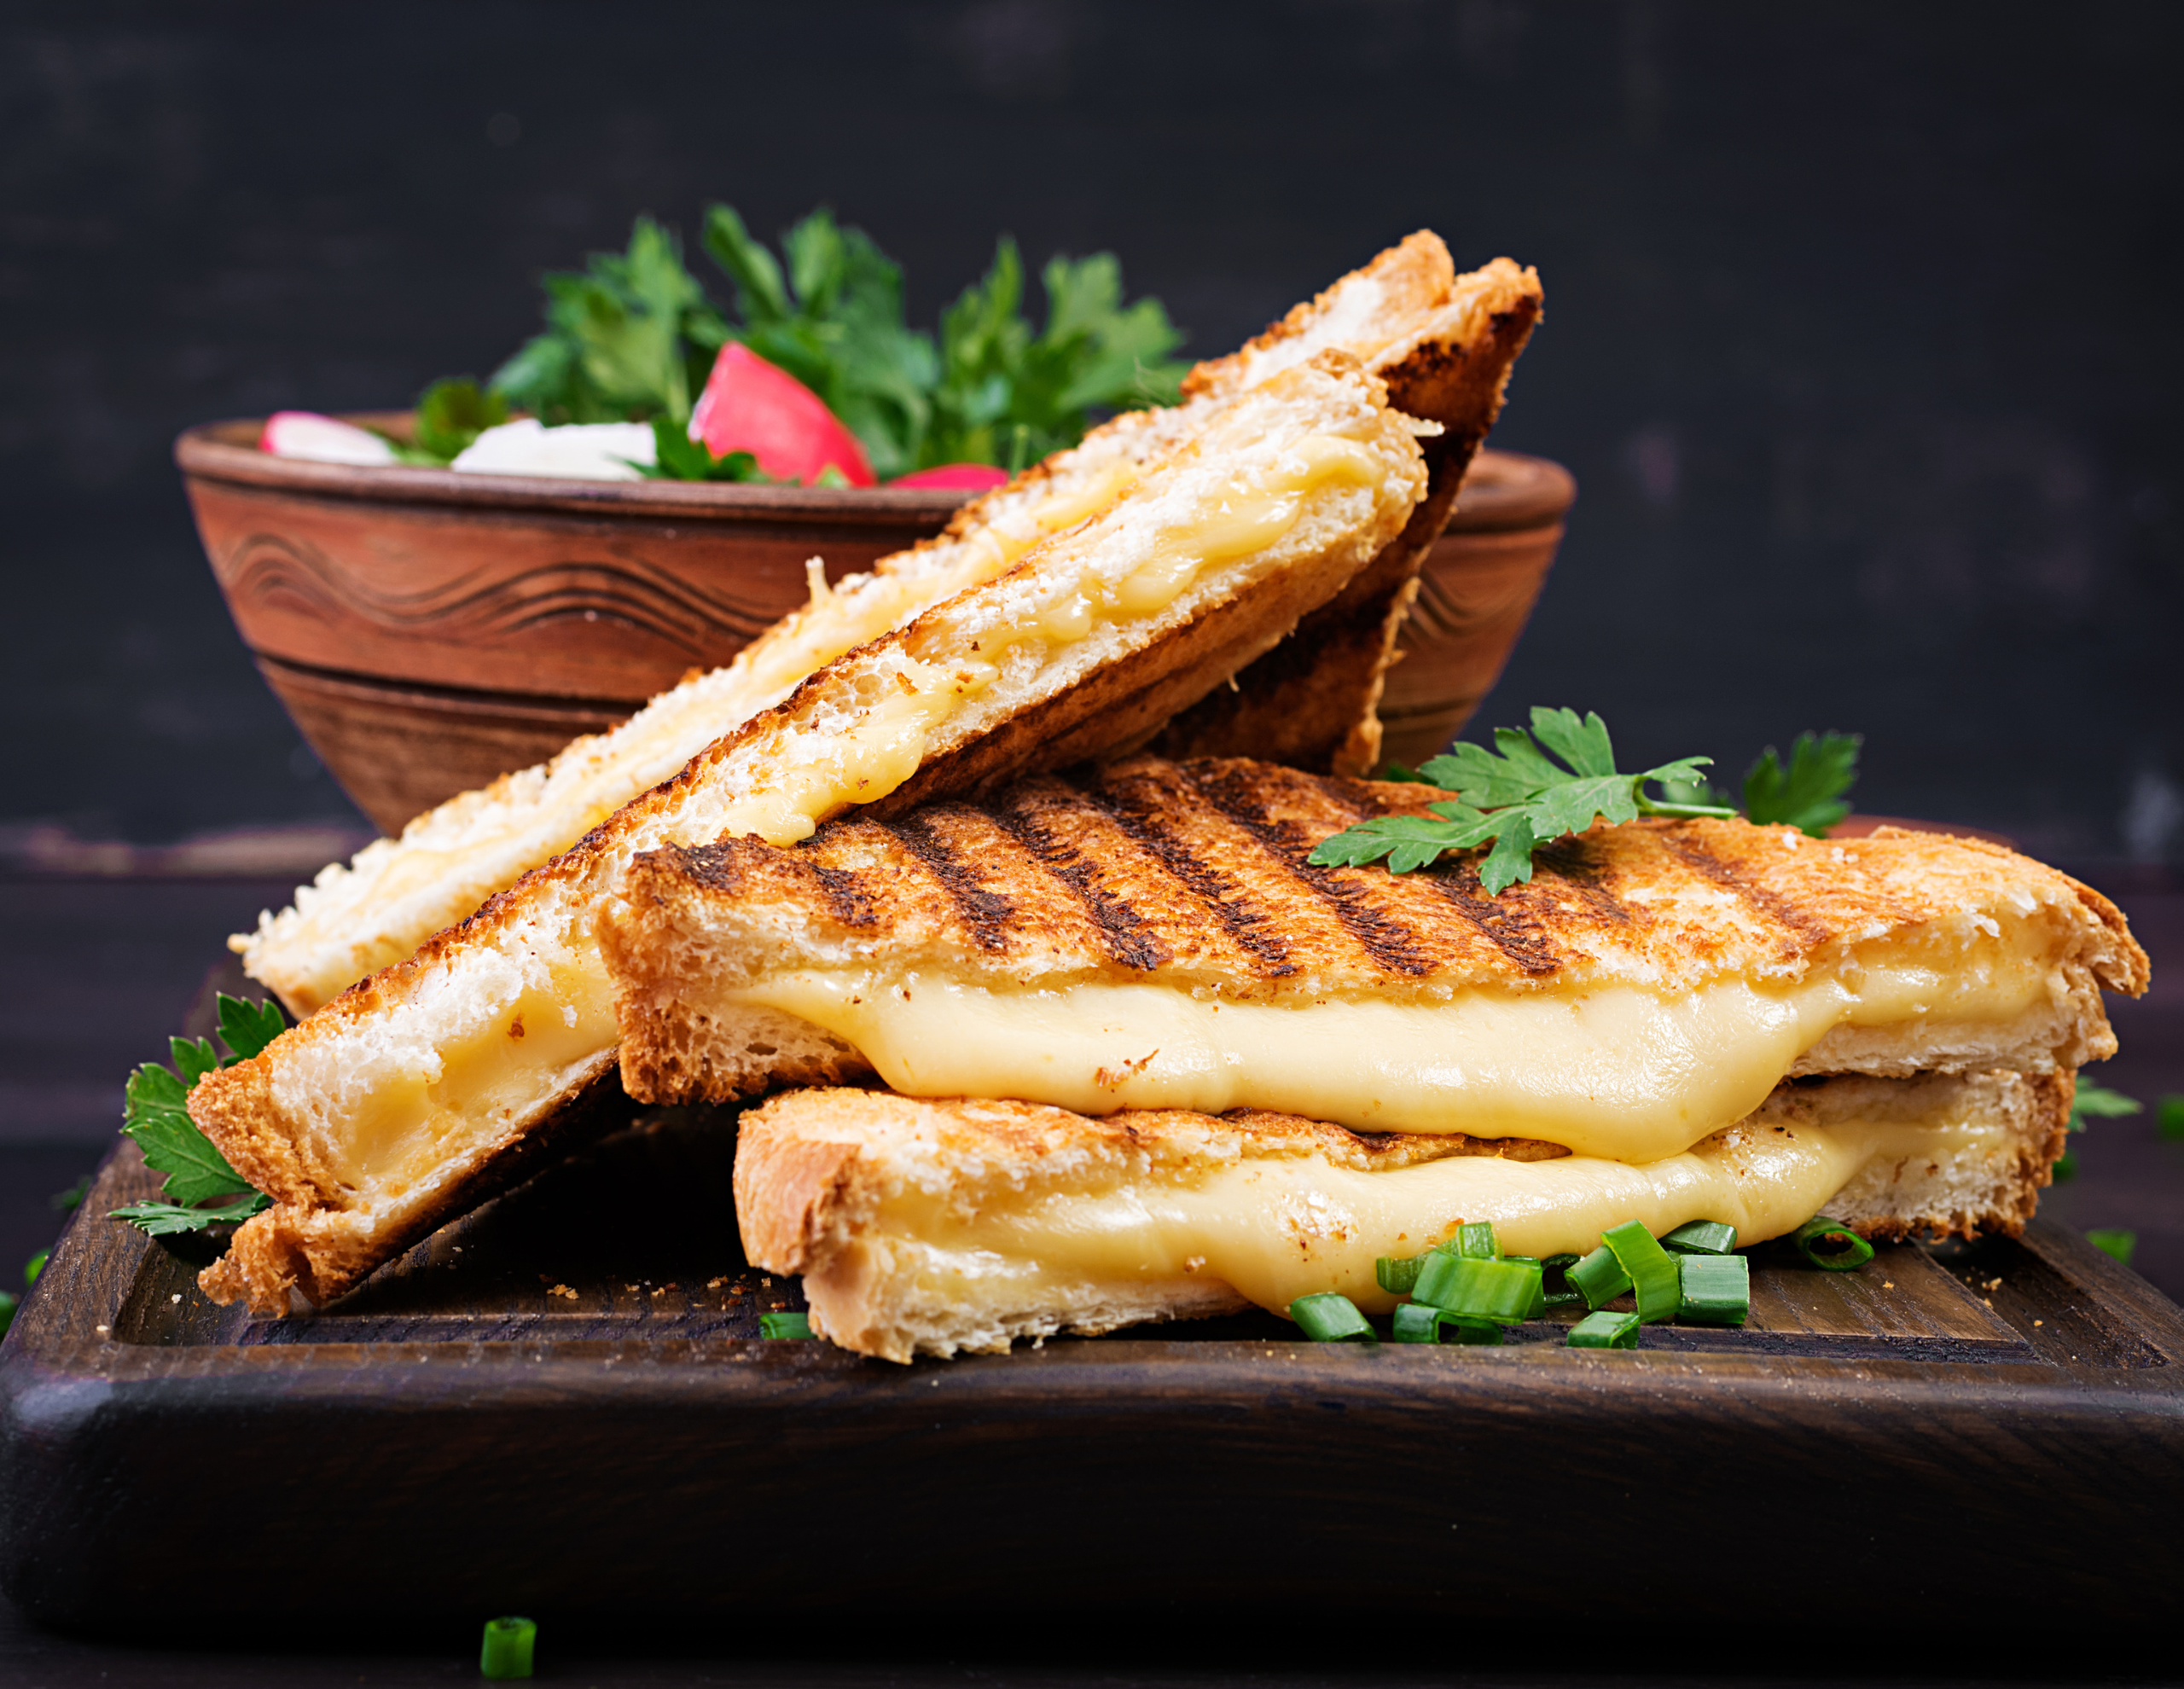
Nothing beats the satisfying crunch and melty goodness of a perfectly grilled sandwich. Whether you’re firing up the outdoor grill or staying cozy in your kitchen, mastering the art of grilled sandwiches will elevate your lunch game to new heights.
In this guide, we’ll share our favorite grilled sandwich combinations, essential techniques for both outdoor and indoor grilling, and pro tips to help you create restaurant-worthy sandwiches at home.

Essential Equipment
Creating the perfect grilled sandwich starts with having the right tools on hand:
- Outdoor Grill Setup: A clean grate is crucial for direct grilling. Use a wire brush for cleaning and tongs for handling sandwiches. Consider a cast iron griddle or flat top attachment for more even heating and to prevent smaller ingredients from falling through the grates.
- Indoor Equipment: A cast iron skillet or grill pan works best for achieving those signature grill marks. A panini press offers convenience and consistent results, while a basic heavy-bottomed skillet can produce excellent results too.
Building Better Sandwiches
The secret to an amazing grilled sandwich lies in the layering:
- Bread Selection: Choose sturdy breads that can withstand heat and pressure. Sourdough, country white, or artisanal breads sliced ½-inch thick provide the perfect foundation. For a lighter option, try Mediterranean Flatbread as your base.
- Spreads and Condiments: Apply spreads to both inner sides of the bread. This creates a moisture barrier and adds flavor. Mayonnaise on the outside instead of butter creates an incredibly crispy golden-brown crust.
Must-Try Grilled Sandwich Combinations
Here are some winning combinations to get you started:
The Classic Caprese:
- Fresh Mozzarella: Look for water-packed fresh mozzarella for the best melting qualities. Pat it dry before using to prevent your sandwich from becoming soggy.
- Sliced Tomatoes: Choose ripe but firm tomatoes and slice them medium-thick. Roma or beefsteak varieties work particularly well as they’re less watery.
- Fresh Basil Leaves: Keep whole leaves intact for the most flavor and aroma. Stack them in the middle of the sandwich to prevent burning.
- Balsamic Glaze: A thick, sweet reduction that adds depth to the sandwich. Just a light drizzle is needed to avoid overwhelming other flavors.
- Sourdough Bread: The slight tang of sourdough complements the sweet tomatoes and creamy mozzarella while providing excellent structure for grilling.

The Mediterranean (featuring ingredients inspired by our Mediterranean Grilled Vegetable Platter):
- Grilled Vegetables: Slice zucchini and eggplant lengthwise, and bell peppers into strips. Grilling them first adds a wonderful smoky flavor and removes excess moisture.
- Hummus Spread: Acts as a creamy base that helps hold ingredients together. Choose a thick, well-seasoned variety or make your own.
- Feta Cheese: Crumbled feta adds a salty punch and creamy texture. Mix with a touch of olive oil to help it melt slightly.
- Olive Tapenade: This rich, salty spread adds intense flavor. Use sparingly as it can overpower other ingredients.
- Ciabatta Bread: The airy texture and chewy crust of ciabatta stands up well to grilling while catching all the flavorful oils from the vegetables.
The Smokehouse (perfect alongside our Homemade Tomato Salsa for dipping):
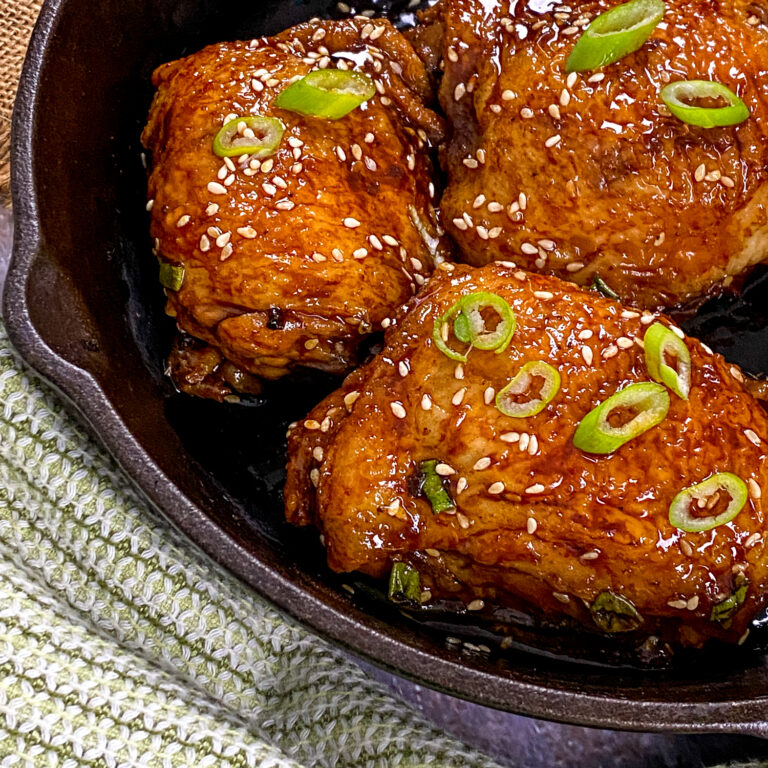
- Smoked Turkey or Chicken: Choose thick-cut meat from the deli counter for the best texture and flavor. If using chicken, try leftovers from our Spicy Garlic and Honey Chicken Thighs.
- Sharp Cheddar: Aged cheddar provides the best flavor and excellent melting properties. Slice it thin to ensure even melting.
- Caramelized Onions: Cook them low and slow until deeply golden for sweet, rich flavor. Make extra to keep on hand for other sandwiches.
- BBQ Sauce: Choose a sauce that balances sweet and tangy flavors. Apply sparingly to prevent the sandwich from becoming too wet.
- Whole Grain Bread: The nutty flavor and sturdy texture of whole grain bread stands up well to these bold ingredients.
Outdoor Grilling Tips
Master the art of grilling sandwiches outdoors with these essential tips:
- Temperature Control: Set up your grill with two temperature zones – one medium-high for direct grilling and one lower heat area for finishing melty sandwiches slowly. This prevents burning while ensuring cheese melts perfectly.
- Timing Matters: Preheat your grill for 10-15 minutes before cooking. Most sandwiches need 3-4 minutes per side, but watch carefully as bread can go from golden to burnt quickly.
Indoor Grilling Methods
Bring the grilled flavor indoors with these techniques:
- Cast Iron Method: Preheat your pan over medium heat for 5 minutes. Press sandwiches with a spatula or use a second heavy pan as a weight. Cook 3-4 minutes per side until golden brown.
- Panini Press: Preheat fully before adding sandwiches. Most will cook in 4-6 minutes total. Avoid overfilling to prevent ingredients from spilling out.

Pro Tips for Perfect Results
- Room Temperature Ingredients: Take cheese and other fillings out of the fridge 30 minutes before grilling. They’ll melt more evenly and create better texture.
- Even Distribution: Spread ingredients across the entire bread slice, ensuring each bite has a good balance of flavors.
- Rest Time: Let sandwiches rest for 1-2 minutes after grilling. This helps melted cheese set slightly and makes them easier to cut and handle.
Serving Suggestions
Make your grilled sandwich meal complete with these perfect pairings:
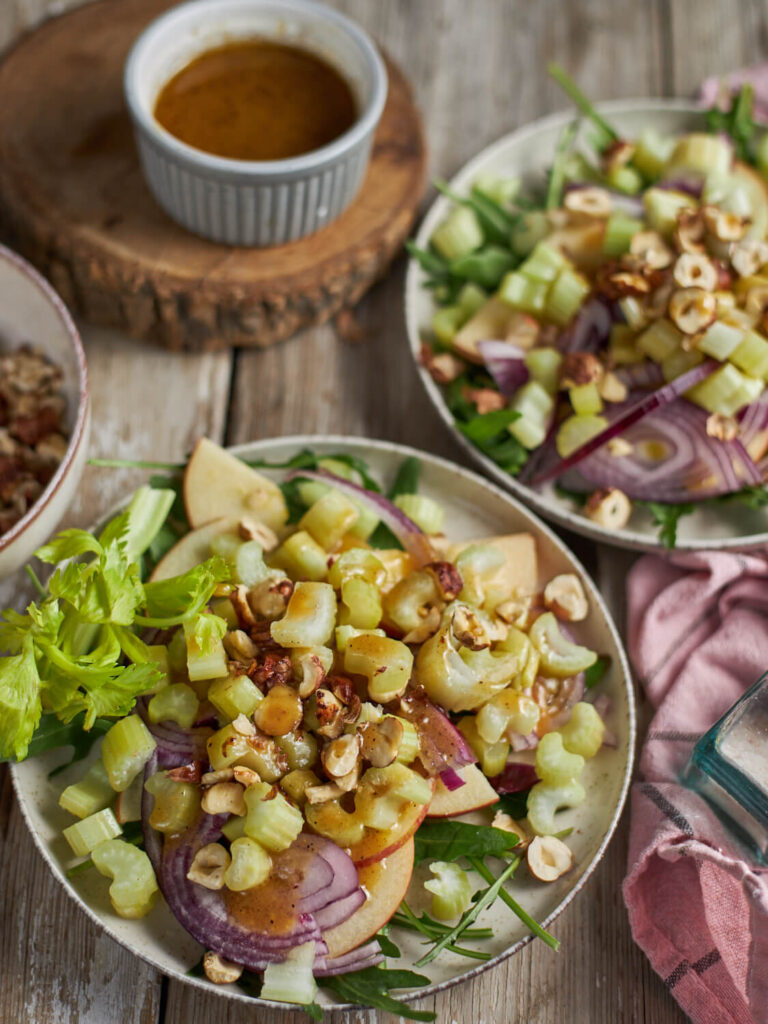
A crisp side like our Crisp Apple Celery Salad adds freshness and balances the richness of grilled sandwiches. For a lighter option, try our Delicious Cucumber Salad which provides a refreshing contrast to warm, melty sandwiches.
Pickle spears, potato chips, or a handful of mixed greens can round out the plate perfectly.
Storage and Reheating
While grilled sandwiches are best enjoyed fresh off the grill, you can store and reheat them:
Store completely cooled sandwiches wrapped in foil or parchment paper in the fridge for up to 2 days. To reheat, wrap in foil and warm in a 350°F oven for 10 minutes, or use a skillet over medium-low heat to restore crispiness.
Frequently Asked Questions
Q: How do I prevent my sandwich from getting soggy? A: Toast the bread lightly before adding wet ingredients, and place moisture-rich ingredients like tomatoes between layers of cheese or meat rather than directly against the bread.
Q: Can I prep grilled sandwiches ahead for a party? A: Prepare components separately and assemble just before grilling. You can pre-slice ingredients, mix spreads, and have bread ready to go. This allows for quick assembly while maintaining quality.
Q: Why does my cheese not melt completely? A: Lower heat and longer cooking time helps cheese melt thoroughly. Cover the sandwich with a lid or tent with foil to trap heat and ensure even melting.
Q: How do I prevent fillings from falling out while grilling? A: Don’t overfill sandwiches, and create a “dam” of cheese around the edges that will melt and help hold other ingredients in place. Press gently but firmly when grilling to help ingredients bond together.
Remember that practice makes perfect when it comes to grilled sandwiches. Don’t be afraid to experiment with different ingredient combinations and techniques to find your signature style.